Step 5 - Surface
Materials required: Four pieces of 3/8" plywood and two pieces of 1/4" massonite.
This is probably the most difficult step of building a quarterpipe. Following these plans there will be two layers of 3/8" plywood with a top layer of 1/4" massonite. Some people like to put the second layer of plywood diagonoal, the main purpose of doing this is so the seams do not line up. I don't think its worth it to put the secon layer diagonal instead I just shift the second layer over so the seams don't line up. The top layer of massonite is not nessisary but it is much smoother than plywood. Another option for the top layer is skatelite. Skatelite is very expensive (over $100 per sheet) but it is waterproof so if you are keeping your quarterpipe outside you should look into this option.
First, take one sheet of 3/8" plywood and screw it into each of the 2x4's that you put in in step 2. I always like to start from the top so any extra plywood you can easily cut off from the bottom.
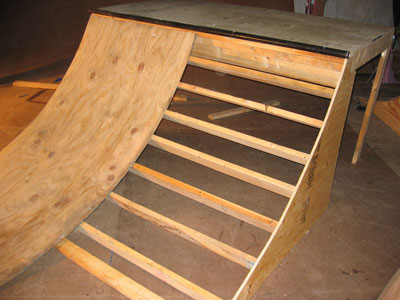
It can be very difficult to bend the plywood to match the transistion of your quarterpipe. The steeper the transition the harder it will be. I used a 6.5' transition and would not want to have done anything steeper. The only advise I can give is to use your body to gradually bend the plywood and screw it in, starting from the top, one two by four at a time. Having other people with you to help keep the plywood bent while you screw it in is a good idea. Don't worry if you hear the plywood pop, but realize that it might break and you will have to buy a new piece. I've heard rumors that soaking the plywood in warm water makes this step easier but i've never seen it done and not sure how practical that is.
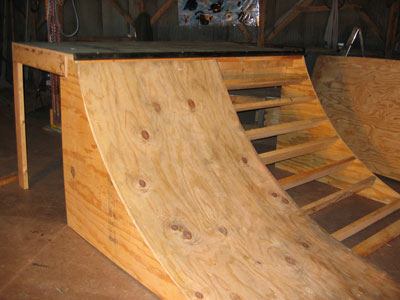
That being said, screw in the next piece of plywood.
Now it is time for the second layer of plywood. It is possibly to skip this step but with two layers of plywood your quarterpipe will be stronger and last longer than with just one layer. Now you dont want the seems of this layer to match up so cut one of the pieces in half the long way (the hot dog way). So now you have two pieces of 2' by 8' plywood and one piece that is 4' by 8' left. Take one of the 2' by 8' pieces and screw it on one end.
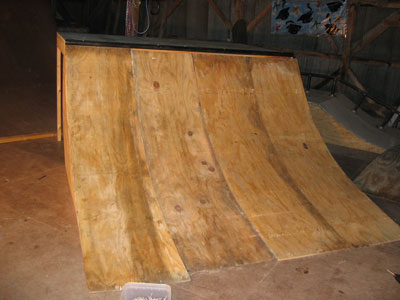
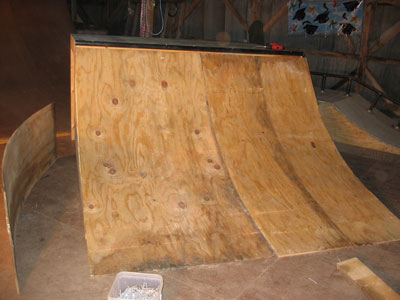
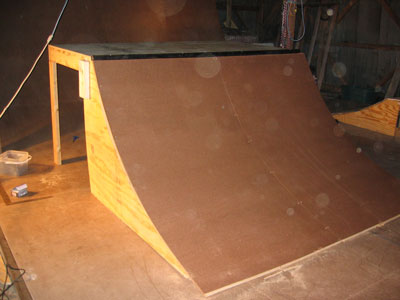
Next screw the 4' by 8' piece of plywood into the middle, then the last 2' by 8' piece into the other end. Next take two sheets of 4' by 8' of 1/4" massonite and screw them on just like you did the first layer of plywood. The massonite bends very easily so this part will not be difficult. Once you are done with this depending on the transition you used there will be extra surface sticking out from the bottom. You only need the plywood/massonite to stick out about 6", so cut anything extra off. Your quarterpipe should now look like this.
Your almost done! All that is left is to make the transition between the ground and the quarterpipe smooth. For my quarterpipe I have a 6" by 8' piece of hard flat metal, but I have no idea where you can buy these! I've looked all over and can't fine them, if anyone knows please tell me. Another option is to take a 2x4 and cut it at an angle to match the transition to the ground.
