Step 1 - Cut the Sides
- 1 piece 3/4 inch plywood
I made the quarterpipe in the following plans with a platform that is not built in. I did this because of the way the quarter pipe is placed in the barn. I personally recommend making your quarterpipe with a built in platform, it is much easier. In order to make a quarterpipe with a built in platform, do not follow the first part below called "Cut the Corner". Then in step 3, instead of building the platform separately, build it into the quarter pipe. If you need help with this part refer to Mini Halfpipe Plans Step 4 which shows how the platform is built into the mini halfpipe.
The only material required for this step is a single sheet of 3/4 inch plywood. First cut a square out of the corner, As you can see in the picture below, cut in 4.5", up 4 and 3/8", then draw a dot 5.5" over, this dot is where the transition will start.
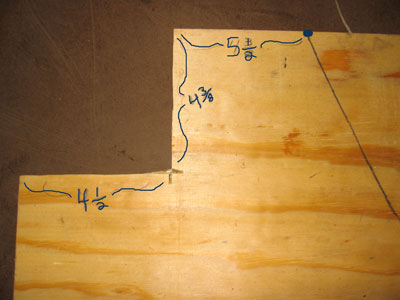
Following these dimentions, the coping will end up flush with the transition of the quarterpipe. Also, the coping will stick up above the platform about a half an inch, if you want the coping to stick out more or less you can adjust the length of the vertical cut, feel free to look at future steps to see how everything is going to fit together.
Part 2: Draw the TransitionRefer to the String and Compass section for a much better explanation (and video!). Essentially I do the same thing in each description, the way below is more compliacted.
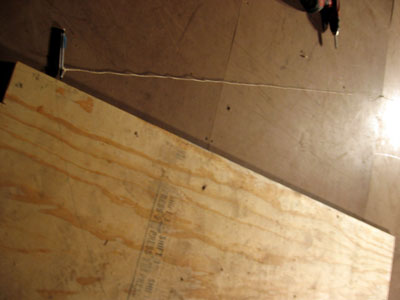
Next, draw the transition of the quarterpipe using the string and compass method. To do this, you need two long perpindicular lines, I used the lines of the massonite on my halfpipe, you might need to draw your own. Once you have your perpendicular lines, put the plywood along the bottom line and measure out 6.5' along the perpendicular line as shown in the picture.
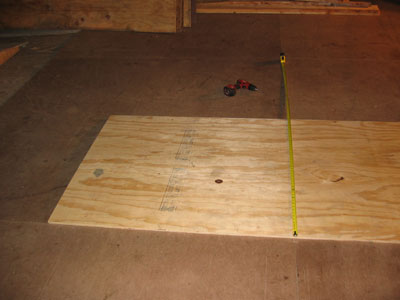
You can use whatever transition you want, for my quarterpipe, I used a 6.5' transition. For a steeper slope use a smaller number, for example if you use a 4' transition (not recommended), then your quarterpipe will approach vert, if you use an 8' transition then your quarterpipe will have a very gradual slope, 6.5' worked out pretty well for me. If you do go with a steeper slop the plywood will be more difficult to bend.
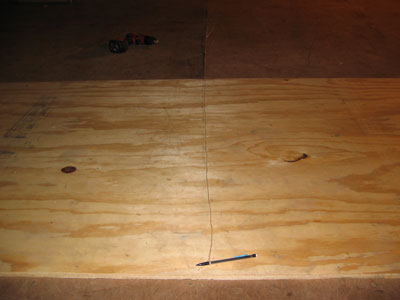
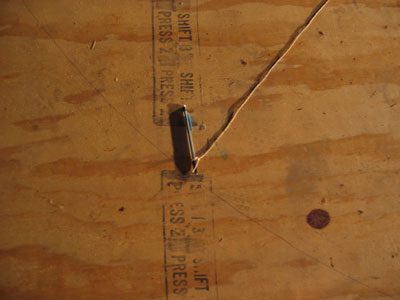
Next, put a screw 6.5 feet away (or whatever transition you use). In the picture above I put a screw in near the end of the tape measure. Now tie a string to the screw and at the other end (at the bottom of the plywood) tie a pencil. Next slide the plywood along the line you drew so that the pencil just reaches the dot you drew. Now draw your transition along the plywood keeping the string taught. The line should go from the dot you made just reaching the bottom of the plywood.
 Part 3: Cut it Out
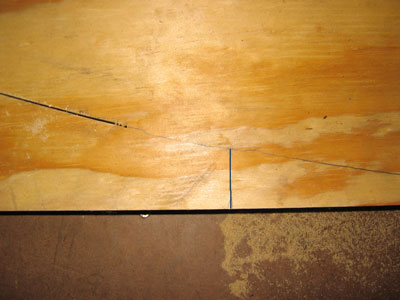
Now at the bottom of the transition it is not nessisary to go all the way since you will be screwing a 2x4 at the bottom, so draw a vertical line at the last point that a 2x4 will fit.
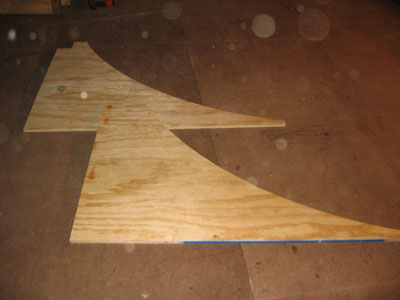
Okay, now you have your transition drawn, next take a jig saw and cut out the plywood along the line you drew. Once you have done this there is plenty of plywood left, so take the piece you cut out and use it as a stencil for the second piece you are going to cut out of the same piece of plywood. Once you have this line cut the second side. You should now have two pieces that look like this.